A Beginner guide on How to use Bitclu
Want to grow your sales with us? Read our step by step guide to learn how to use Bitclu


How to register?
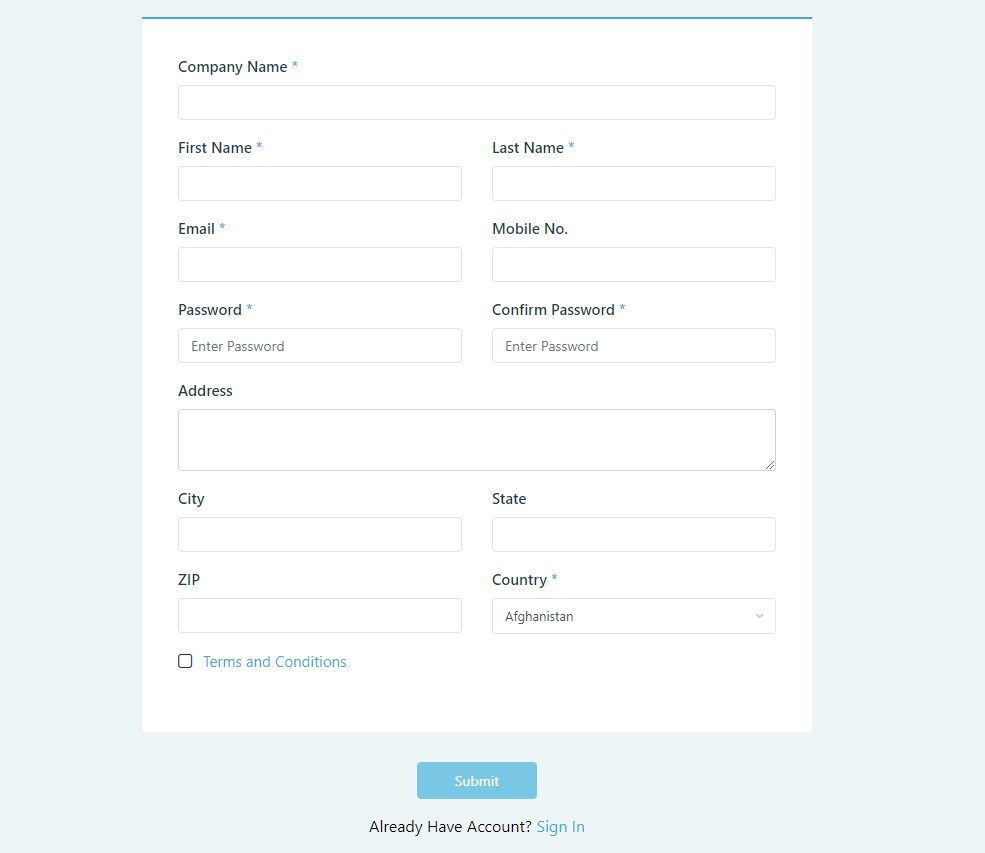
3. After clicking submit, we will send a verification code to your email Id..
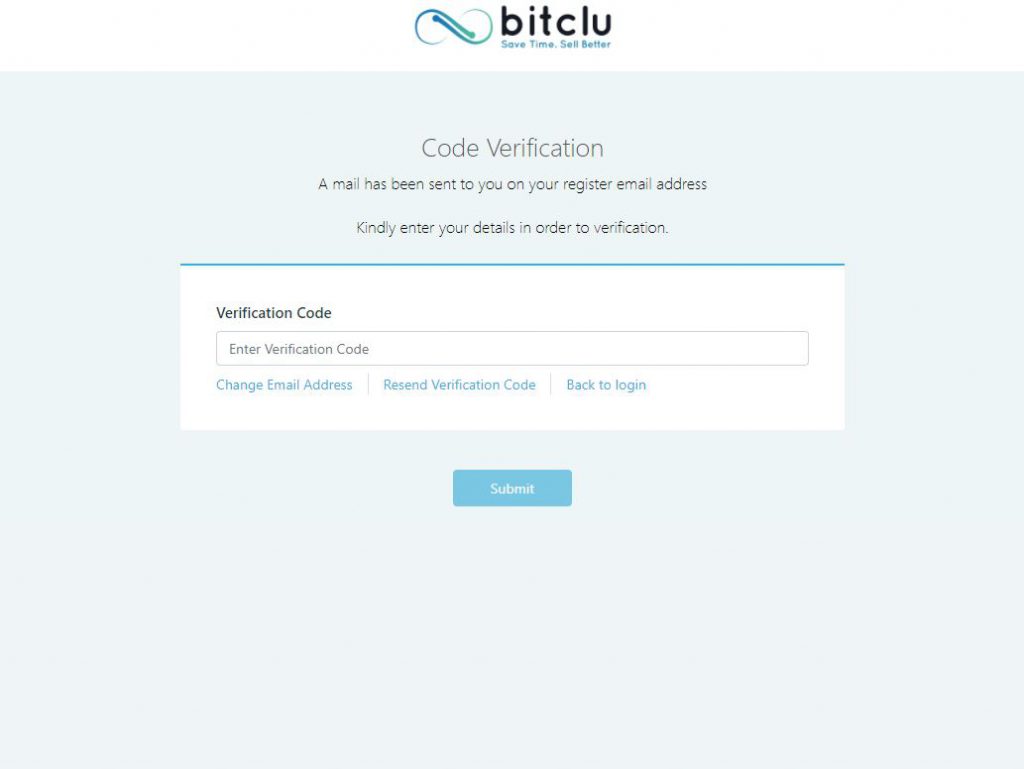
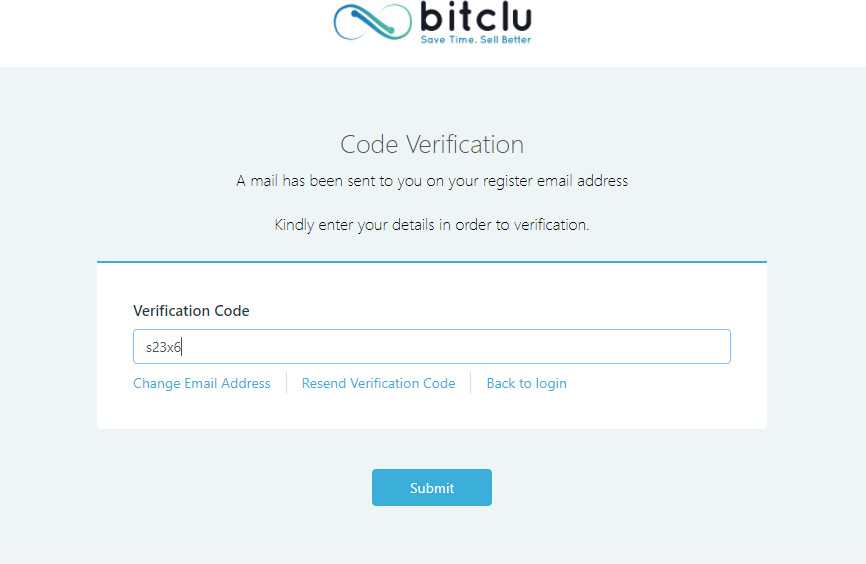
4. Copy the code and click “submit”.
Note: If you did not receive the verification code, then check your spam folders or tap ‘Resend verification code’. You can also change your email address if you lost your password or your mail is not working.
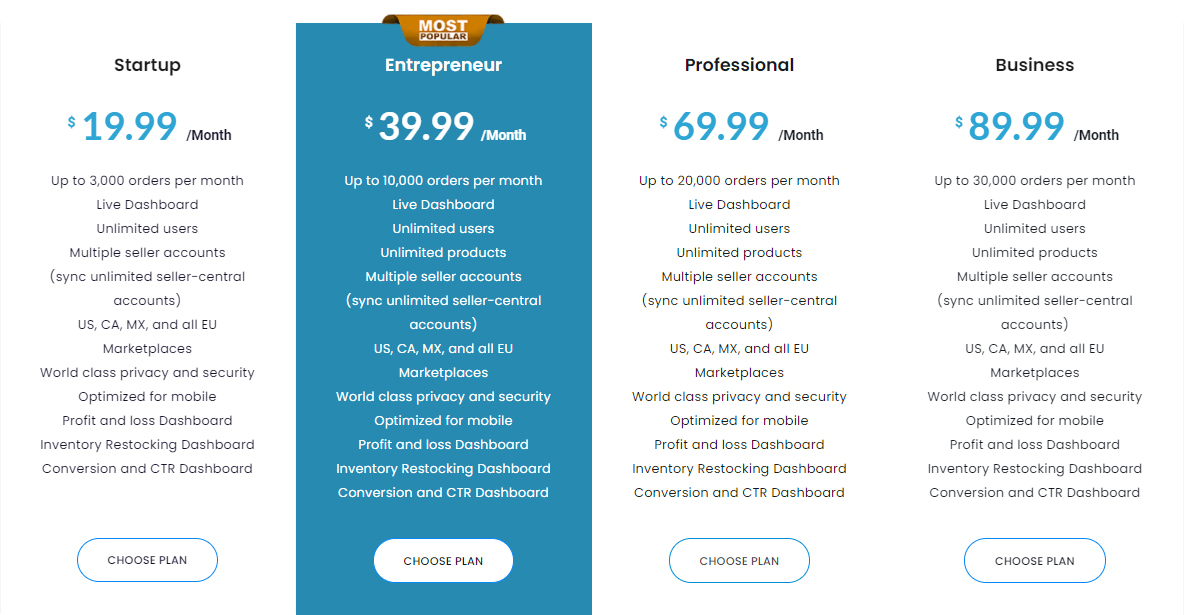
5. Once you click the Submit button, you will be redirected to the payment page. Here you need to select the pricing plan. You
can choose the free trial option as well (If you want)
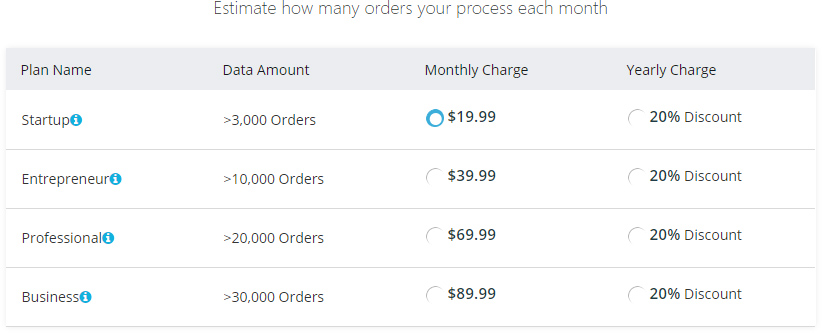
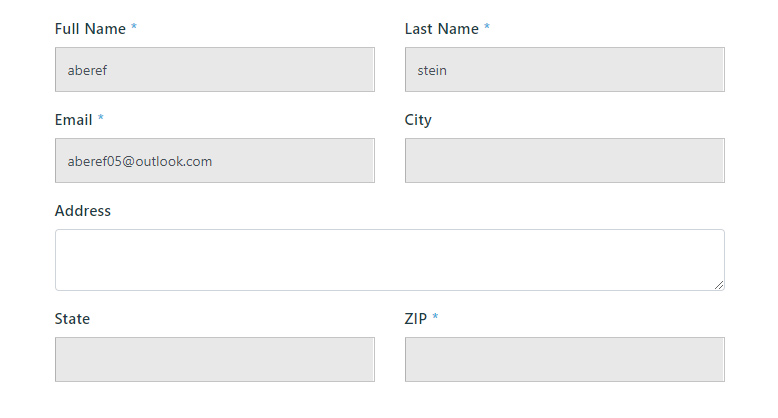
6. Next to the plans the same billing address that you have entered during registration will be displayed. If you don’t want to change your address, scroll down the page else edit your details.
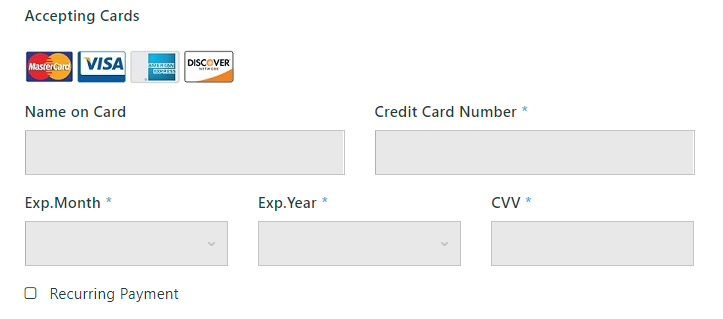
7. Enter your credit card details such as your name, credit card number, expiration date, CVV and then proceed. We accept:
· Master card
· Visa
· American Express
· Discover
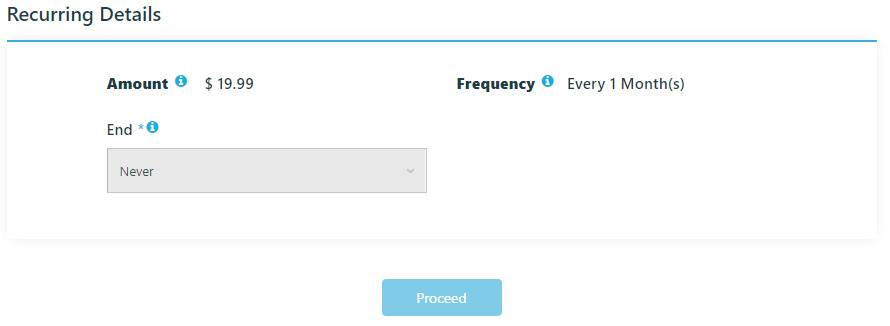
8. Make sure that the ‘Recurring payment’ box is checked, and the drop down is set to ‘End’
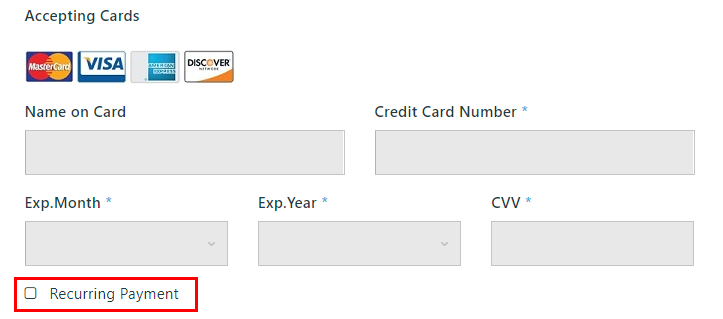
Note: This will enable you to automatically renew your subscription every month, so your service will never get interrupted.
How Account is integrated with Amazon?
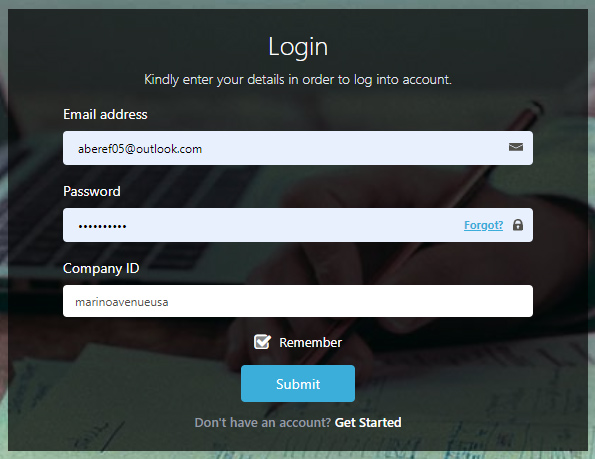
1. After filling your information and the payment details, you will be redirected to the login page. Fill out the username and password (the ones you created during registration) and click submit.
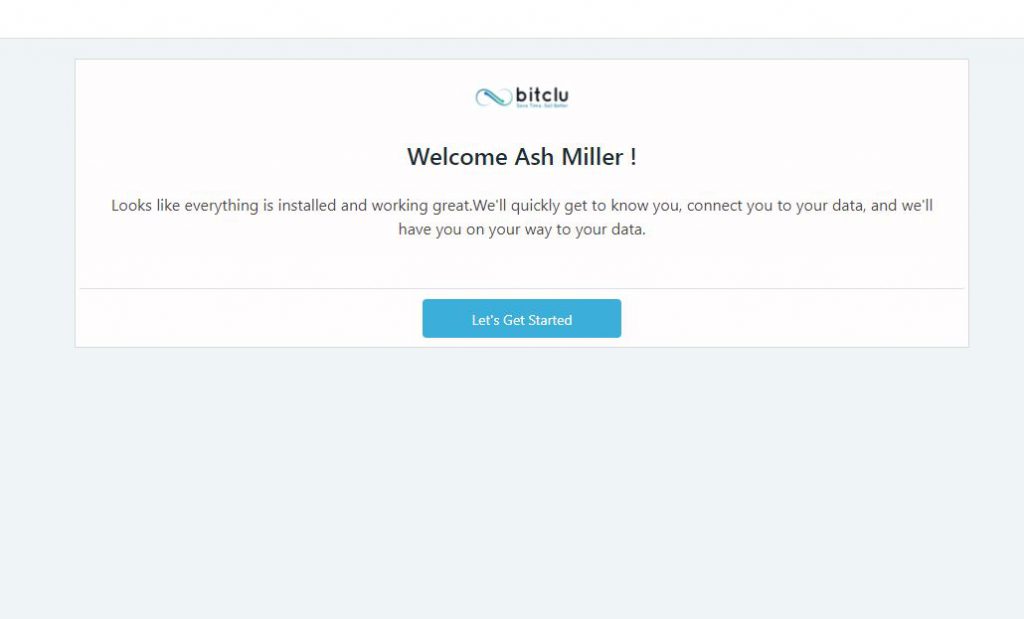
2. The next screen will be the system configuration page. Click on ‘Let’s Gets Started Button’ to connect your Amazon account with Bitclu (this will take a few minutes).
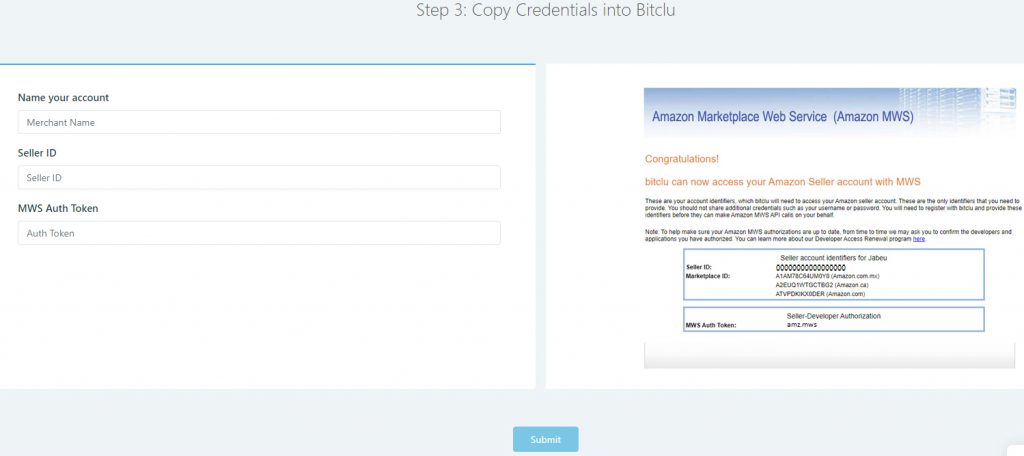
3. Users will be redirected to Amazon MWS page after this. Fill out amazon merchant name, Seller Id, and Amazon authentication token and then click ‘Submit’
4. Tap ‘Let us Connect Button’ to integrate amazon advertisement with Bitclu. (If you do not want to integrate amazon advertisement, skip this step.)
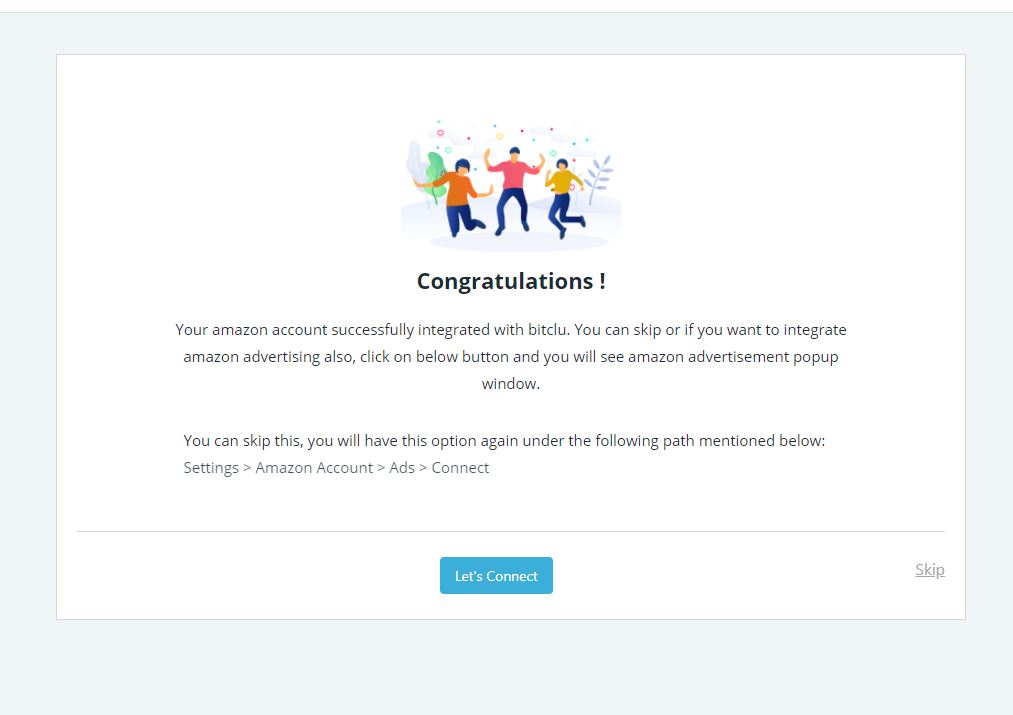
5. After completing the integration process the system will redirect to the dashboard page.
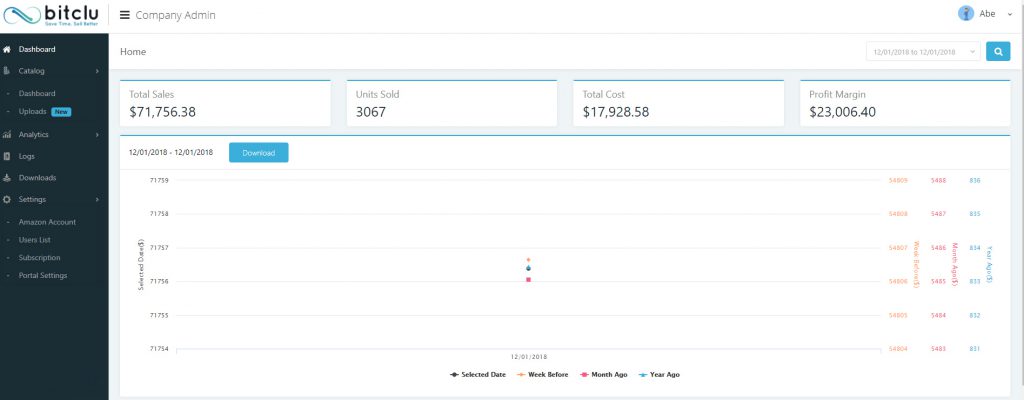
Congratulation you have successfully connect your Amazon account with Bitclu! Now just relax and wait for Bitclu to import catalog from Amazon and generate the reports. (This process can take up to 24 hours)
Understanding Analytics
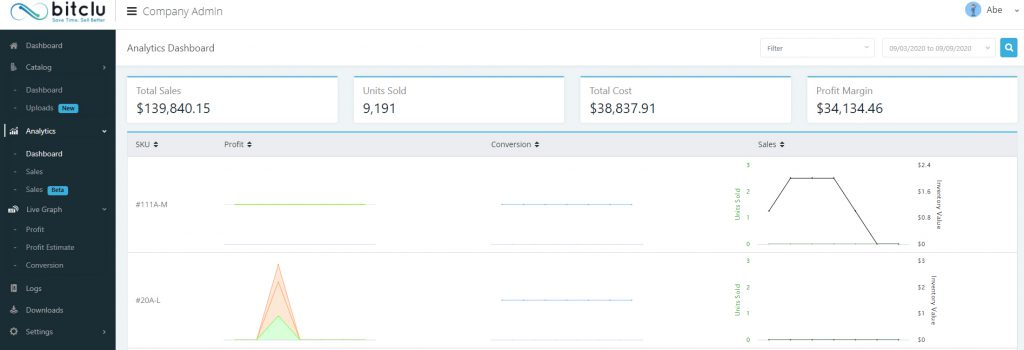
Click “Analytics” on the right navigation page. On tapping you will see two options:
· Dashboard
· Sales
Dashboard
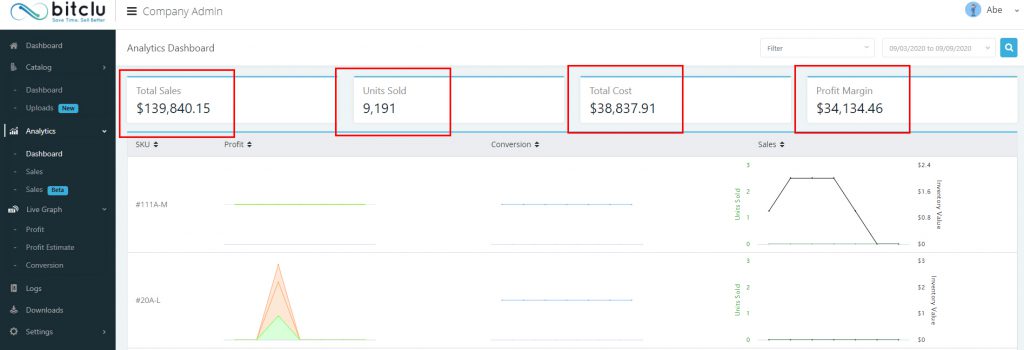
Tap “Dashboard” under the “Analytics” menu and select the date range for which you want to view information such as:
- Total sales
- Unit sold
- Total cost
- Profit margin
- Sales and conversion
Sales
1. Click “sales” from the “Analytics” drop-down menu at the right navigation bar to view the sale and inventory ratio in
· Unit
· Amount

- Total units
- Total sales
- Days of sale
- Out of stock date

Live Graphs
- Click ‘Live Graph’ on the right navigation page. Two options will come under the live graph field:
- Live profit
- Sales comparison

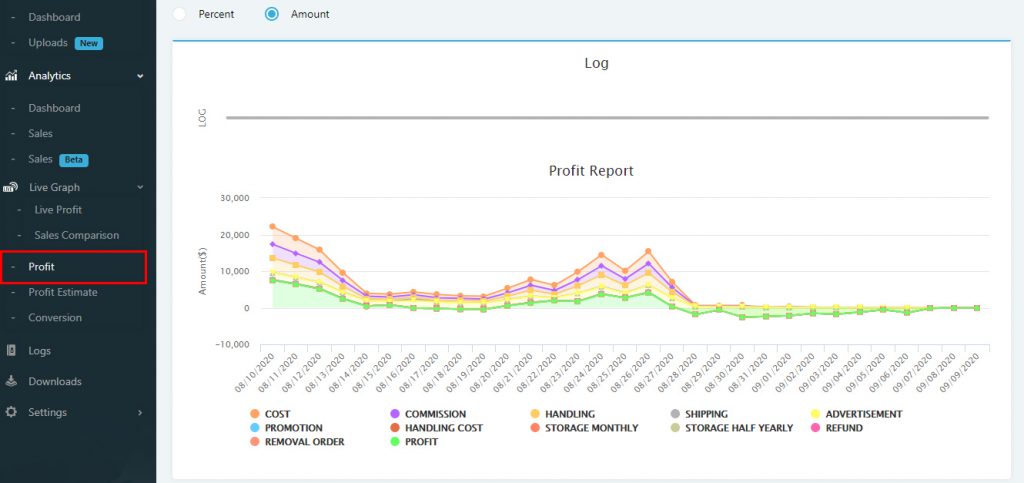
Live Profit
- Cost
- Shipping
- Commission
- Handling
- Profit
- Sales
- Promotion

Sales Comparison
1. Tap “sales comparison” from the right navigation menu and compare your sales by:
• Unit
• Amount
2. Choose the date range from the left side and analyze your sales in clear graphs and pie charts
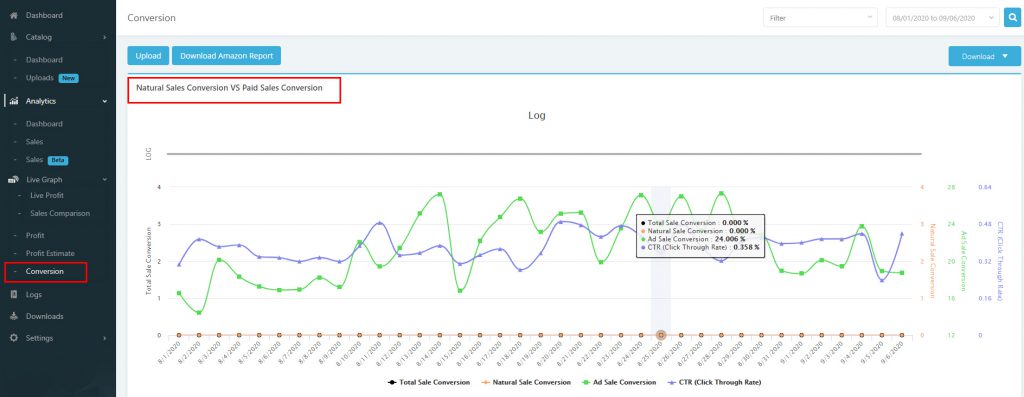
Track your Conversion

Export your data Excel
To export you profit report

3. Choose from one of the following download options:
• SKU
• Sales
• Sales Order
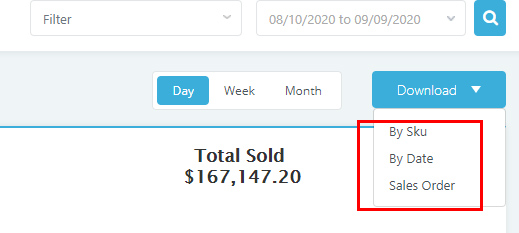
4. After selecting one of the options, a message will pop-up on the screen “Your download request has been submitted, please visit the download page”
5. You can export your profit report from the download page after a few minutes.
To export your conversion report
- Click ‘Conversion’ at the right navigation page
- Tap ‘Download Button’ at the top left.
- Go to the download page.
- Check the status of your report in the download page.
- You must wait for a few minutes if the status is pending.
To export your sales report
- Go to the analytics –> sales at the top right.
- Click on the ‘Download’ on the left side.
- Go to the download page at the left navigation.
- Load the sales report.
Product Catalog
- Individual upload
- Bulk upload
Individual upload
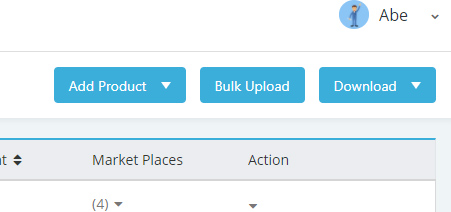
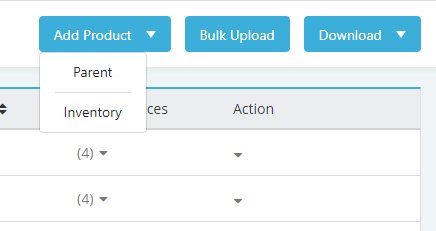
2. Under the “Add products” drop down menu select the product as ‘Parent or inventory’.
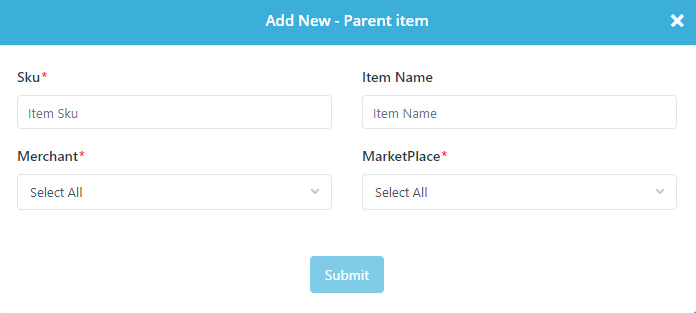
3. Fill details such as SKU, Item name, Merchant, Marketplace for adding a product as a parent.
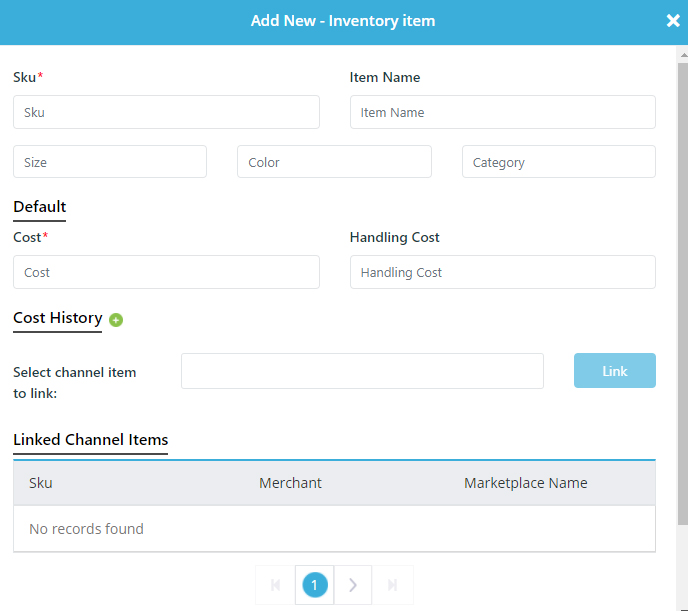
4. Enter the details such as SKU, Size, color, category, cost, handling cost, cost history, item name to add a product as an inventory.
Bulk upload
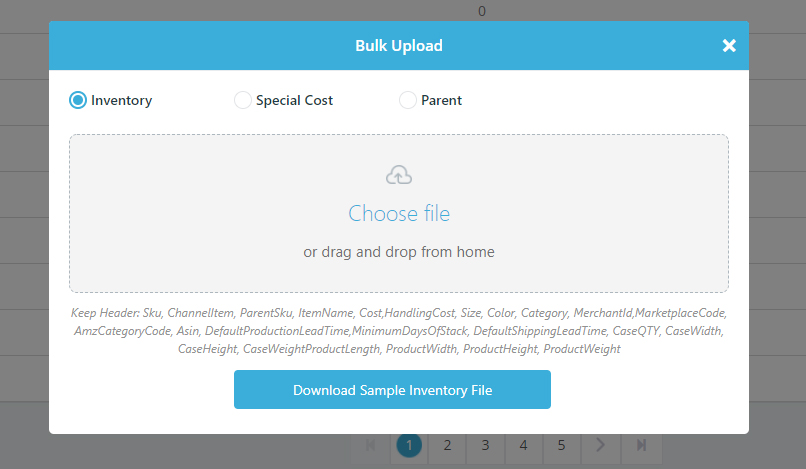
1. The system
- Inventory
- Special cost
- Parent

3. Upload the file in the form of XLSX format with key headers such as SKU, Item number, color, etc.
Have any query?
Let’s Talk
Whether you need a full product, consultation, tech investments or an extended team, our expert will help you find the best solutions. Want to get free tricks to make more profit.


